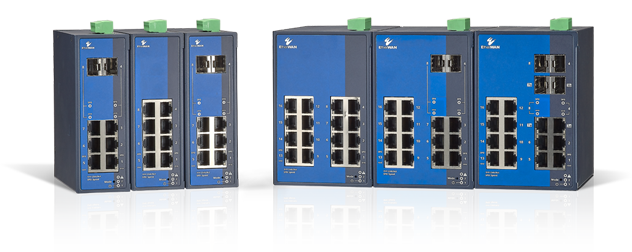
SmartE Series
Hardened Managed 5 to 16-port Fast/Gigabit Ethernet Switch
A Mode Button – Makes configuration even easier
What is a Mode Button?
The SmartE series features a special physical 'Mode Button' on the device, designed to help users reduce the time of deployment and ease the burden of IP management.
4 Operating modes can be selected - All at the touch of the button!
Discover how the Mode Button design enables simpler & smarter configuration in different scenarios.
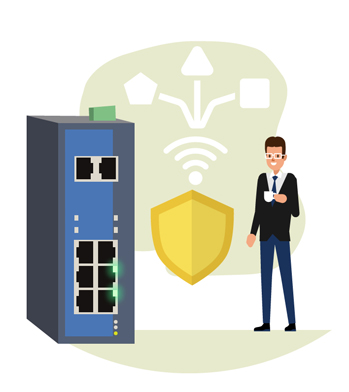
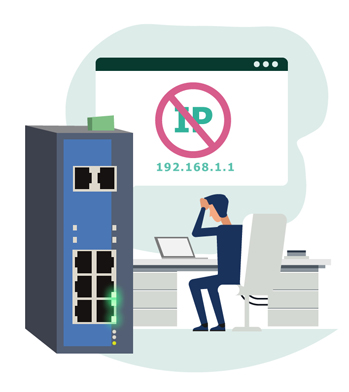
Scenario 1. To solve unexpected human errors, such as…
- Configuration error. (e.g. Configure VLAN by mistake, and then lose accessibility to reconnect to the switch)
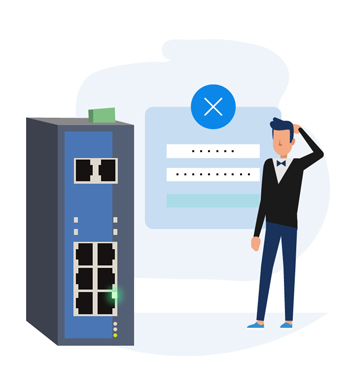
- Cannot access the switch, due to forgotten username or password.
Mode Button Solution – Mode 1: Reset to the factory default
Apply ‘Mode 1’ to delete any stored configurations on the SmartE switch. This will reset the switch to initial factory default settings.
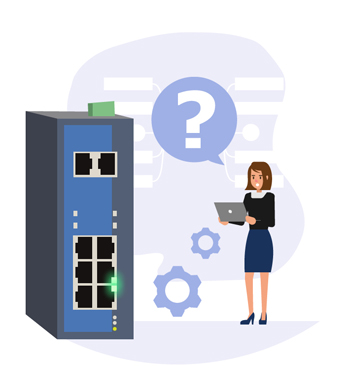
Scenario 2. Have you ever…
- Unboxed an Ethernet switch happily, connected it to a laptop, but they don’t connect. Why? Because following your company’s IT policy, users cannot change the Network Interface Card (NIC) configuration until an approval process is completed?
- Been a user such as a network beginner or a network administrator without enough experience on network management when bringing up the switch?
Mode Button Solution – Mode 2: Operating with a Fixed IP address
Almost every laptop’s NIC default setting is ‘DHCP client’ – the user doesn’t have to change the IP configuration in Windows. Select ‘Mode 2’ on a SmartE and it automatically becomes a DCHP server, and will assign your connected laptop an IP address in the same subnet. Therefore, without manually configuring on your laptop, you can quickly access the SmartE switch via a predefined IP address directly. NIC settings are not required.
Scenario 3. When you need to access a specific Ethernet switch via its IP address to…
- Further modify the configuration.
- Check system log to troubleshoot network. But just realized you don’t remember the IP parameters of the switch?
Mode Button Solution – Mode 3: Reset the IP configuration
Select ‘Mode 3’, it will reset the stored IP parameters (IP address, the subnet mask and the gateway address) on the SmartE switch to its defaults. But don’t worry about other configured settings on the switch, the saved settings will remain in place.
Scenario 4. For users who want to achieve…
- Plug & play, even inexperienced users can quickly deploy on premises without any pre-configuration required.
- Network redundancy is needed to prevent unexpected downtime, and messy configuration steps need to be avoided.
- Minimized possibility of cyber threats from remote accessing interfaces.
Mode Button Solution – Mode 4: Operating in unmanaged mode
Operating with the 'Mode 4' makes the SmartE switch simpler and safer to use. Disabling all remote management interfaces (IP, WebGUI, CLI, and Telnet) protects the operational network, while the network redundancy mechanism 'RSTP' is automatically enabled without any manual configuration needed.
*Add-on advantages: the 'Mode 4' makes SmartE operate like an unmanaged switch, but better. Level up network security in this way! The following main Layer 2 management features can be running in this mode, and only require users do a few configuration steps in advance on the webGUI.
- IGMP snooping
- Broadcast/multicast limiter
- VLAN configuration